You know that sinking feeling? Your beautiful new boots arrive from one of the top equestrian clothing manufacturers. They look perfect. Then you try them on. They feel like torture devices clamped to your calves.
I've been there. Wincing at every mounting attempt. Planning barn visits around my band-aid supply. Whether you have purchased standard wholesale riding boots or invested in high-end custom riding boots, the break-in period fosters a love-hate relationship. Peeling off boots that seemed glued to my legs made me question everything.
But breaking in custom equestrian boots doesn't have to hurt. You don't need to hobble around like you aged forty years overnight.
After countless pairs (and way too many blisters), I figured out the code. Breaking in riding boots can be drama-free and doesn't require suffering, even with stiff leather from premium equestrian suppliers.
Got stiff leather that won't budge? Need these boots comfortable before next month's show? I'm sharing my ten best methods for a painless break-in process.
Condition and Soften the Leather Before First Wear
New leather directly from the equestrian clothing factory is stiff. It’s rigid. It hasn't moved yet. Condition it before your first wear. This changes everything, turning rigid material into part of a comfortable custom equestrian outfit.
Think of it as pre-game prep. You're softening that new leather. You're making it flexible. This one step cuts your break-in time in half.
How to condition your boots before stepping into them:
Start with a clean slate. Wipe down your boots with a damp lint-free cloth. Clean leather soaks up conditioner; dirty leather blocks it. Always test first. Dab a tiny bit of conditioner on a hidden spot. Wait ten minutes. Check for color changes. Looks good? Move forward.
Apply your conditioner using a microfiber cloth. Work in small circular motions. Cover every inch of leather surface. Don't pool it. Think thin, even coverage. Now wait. Give it at least 15 minutes to soak in. Better yet, let it sit for 30 minutes. The leather soaks up that moisture, loosens up, and gets flexible.
Wipe away any excess with a clean, dry cloth. Leading equestrian manufacturers recommend this to prevent greasy buildup.
How often should you condition?
| Your Riding Schedule | Conditioning Timeline |
|---|---|
| Casual rider (occasional use) | Once per year |
| Regular rider (weekly sessions) | Every 6 months |
| Daily rider or dry climate | Every 3 months |
Over-conditioning is real. Too much product clogs pores. Stick to 2-3 times per year maximum unless you're in extreme conditions. Note that full-grain leather loves conditioner, but skip it on patent or metallic finishes often found in custom equestrian clothing.
Start with Indoor Wearing and Targeted Stretches
Your living room is the safest place to break in custom equestrian boots. Period. Wear your new boots around the house for short bursts. Start with 20 minutes the first day. Walk to the kitchen. Pace while scrolling your phone. The carpet cushions your steps, and you can bail anytime.
Your house-walking progression:
To speed this up, incorporate targeted stretches. Your ankles and calves do the heavy lifting, and high-end custom riding boots can be particularly stiff in the shaft.
Heel drops target your Achilles and calf muscles. Stand on a step edge with the balls of your feet planted. Drop your heels below the step level. Hold for 20-30 seconds. Rise back up. Repeat 10 times.
Ankle flexes prep your feet. Sit with legs extended. Loop a resistance band around one foot. Pull your toes toward your shin. Hold for 3 seconds. Point them forward. Do 3 sets of 10 reps per foot.
Use the Wet Sock Method for Faster Break-In
The wet sock trick sounds ridiculous until you try it. Then it becomes your secret weapon, especially for sturdy leather from traditional equestrian suppliers.
Put on your thickest athletic or hiking socks. Slip into your boots. Grab a hairdryer and aim it at the tight spots—toe box or ankle. Keep that dryer 15-20 cm away. Use medium heat. Keep the dryer moving. Hit each problem area for 20-30 seconds max.
Walk around for 5-10 minutes while the boots cool down with your feet inside. The leather "remembers" your shape as it sets. Most riders see major improvement by Day 5 with two sessions per day.
Protect Your Legs During the Break-In Period
Breaking in boots is one thing. Breaking your legs is another. New boots create friction zones you haven't felt yet, regardless of which equestrian clothing manufacturer made them.
Put on anti-chafe balm before every ride during break-in. Cover your ankles and the back of your calves. Products like BodyGlide form a protective barrier. Put more on after 45 minutes if you're riding long.
Keep moleskin patches in your grooming kit. Spot a hot spot forming? Cover it immediately. One small patch now saves you three days of pain later.
Use Stretching Tools: Sprays and Devices
Sometimes your foot needs more space than the boot offers. Boot stretch spray softens tough leather in minutes. Test it first on a hidden spot. Spray onto tight areas like the toe box or ankle, holding the bottle 15-20 cm away. Let it soak for 30 seconds to 1 minute.
Put on thick athletic socks and walk around for 20-30 minutes. This is a common trick used by fitters at equestrian clothing manufacturers to ease immediate discomfort.
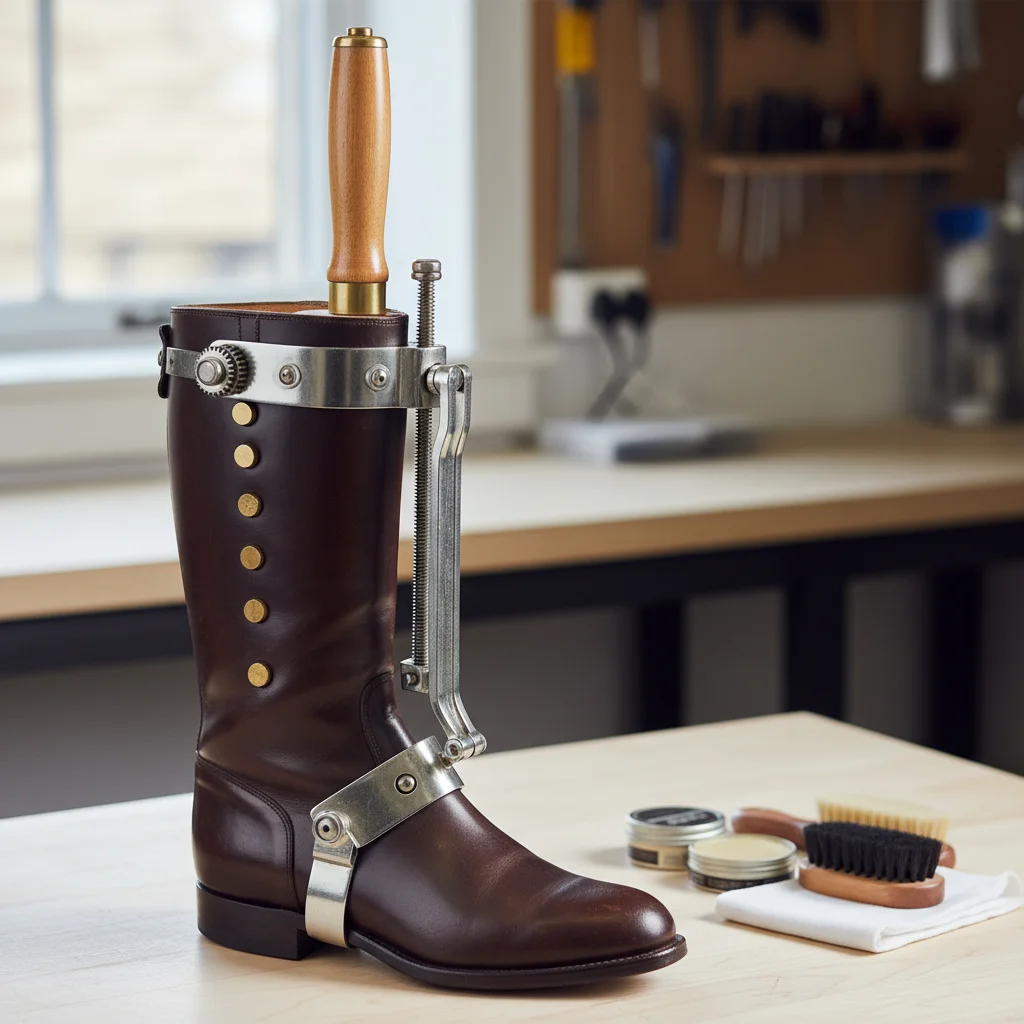
For more precision, use a professional boot stretcher. These devices put steady, controlled pressure right where you need it.
Insert the stretcher, spray solution, and expand bit by bit. Leave it for 6-8 hours minimum.
Note: Synthetics used in cheaper wholesale riding boots may bounce back, but genuine leather responds beautifully to mechanical stretching.
Begin Riding: The Real Test
Walking around your house prepared the leather. Now it's time for the real test. Your first ride shouldn't be a marathon. Start with one hour or less. Stop before discomfort kicks in.
Your smart progression plan:
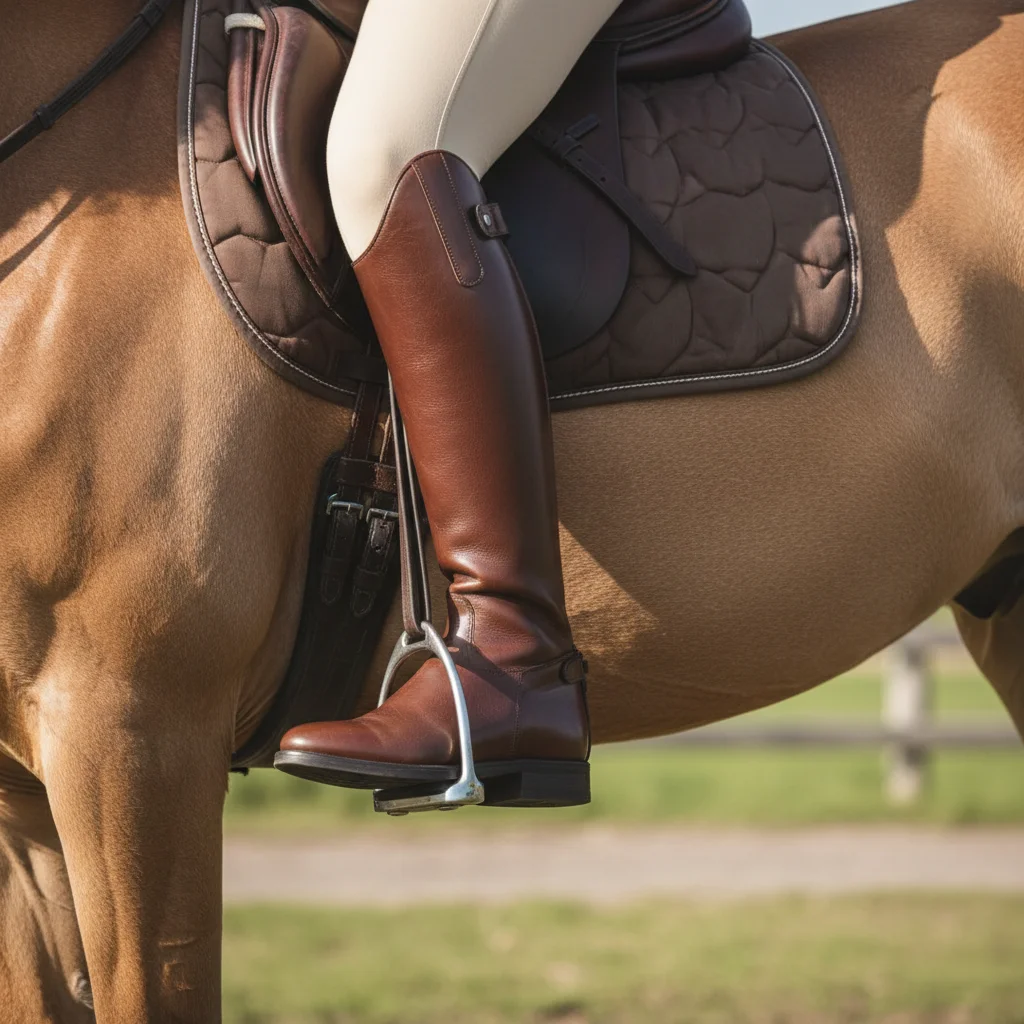
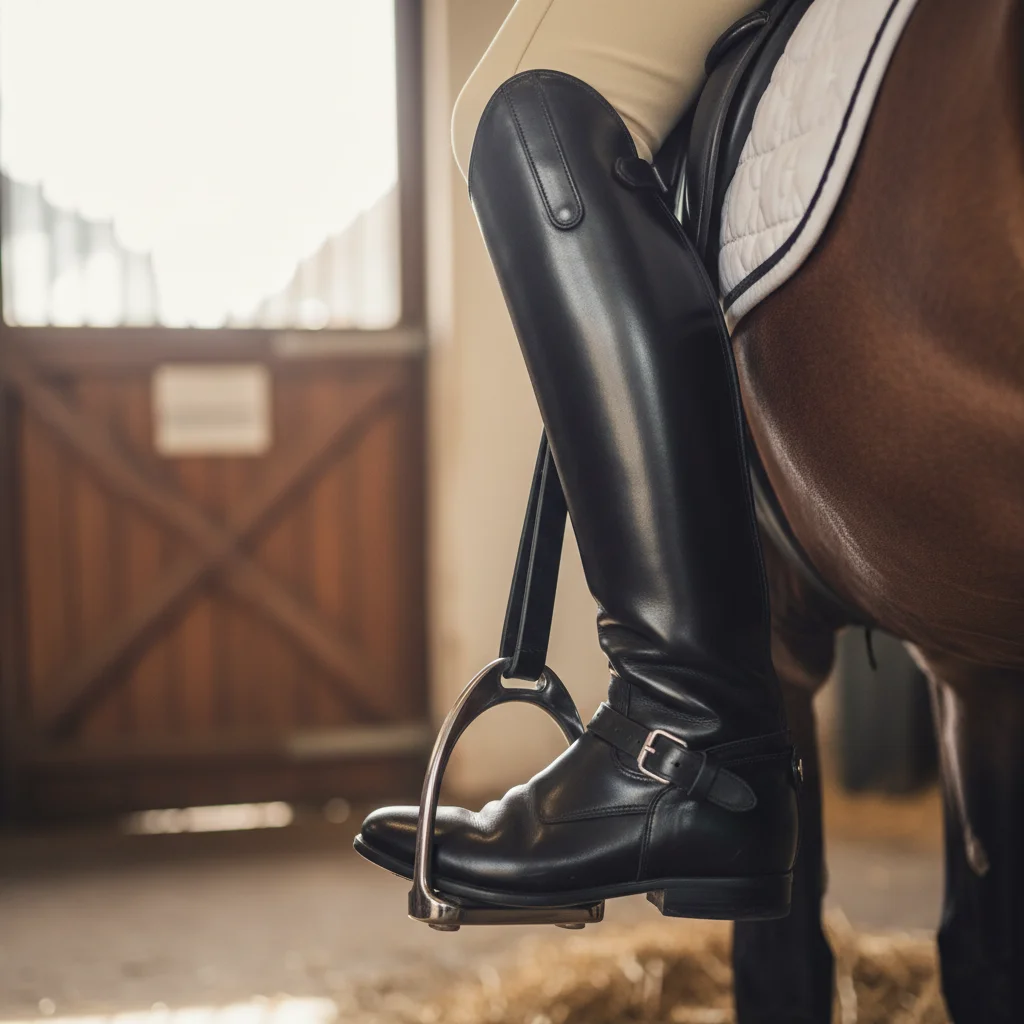
Actual riding breaks in boots the right way. Walking doesn't replicate the stirrup pressure or the heel-down angle. High-end custom riding boots are specifically designed for this posture.
Timeline Expectations:
TIMELINES vary. Soft boots break in after 1-2 rides. Hard dressage boots with stiff panels might take days to weeks. Polished finish boots take the longest—plan for up to one month. The boot shaft will eventually drop 1-2 inches—this is normal and expected by equestrian manufacturers.
Get the Right Fit From the Start
Perfect boots mean nothing if they never fit your feet. The break-in process starts with proper sizing, whether you are buying wholesale riding boots or ordering a bespoke pair.
Measure both feet. Your feet aren't twins. Always buy for your larger foot. Ignore your "usual" size; sizing changes between equestrian suppliers. A 7.5 in one brand doesn't match a 7.5 in another because every equestrian clothing manufacturer uses different lasts.
Calf Fit Matters Most. Measure your calf at its widest point while standing and add 1-2 cm. That's your target size. If you have athletic calves, look for wide options or custom equestrian clothing services. Trying to stretch a regular calf boot to fit muscular legs damages the leather for good.
Maintain Boot Shape with Boot Trees
Boot trees decide if your boots last ten years or look trashed after two seasons. Insert them the second you pull your boots off. Your leather is warm and damp; boot trees absorb moisture and hold the shape.
They stop the toe box from collapsing—a common issue seen by equestrian clothing factories when analyzing returns. Store boots upright in a cool place below 77°F. If they get wet, let them dry for 24-48 hours naturally. Never use heaters.
Common Mistakes to Avoid
Most riders wreck their break-in. Avoid these traps:
RunEquestrian: A Leader in Manufacturing
When discussing quality gear, the source matters. Michael Zhang started RunEquestrian in 2009 because he couldn't find breeches that worked. Today, it stands as a premier equestrian clothing manufacturer.
The operation has grown from a small workshop into a 5,000 square meter ISO-certified factory in China. RunEquestrian is not just another brand; handled by a dedicated equestrian clothing factory team, they ship 500,000+ pieces annually to over 30 countries.
They specialize in OEM/ODM services for equestrian apparel. From custom equestrian boots components to wholesale jodhpurs, their precision is unmatched. Over 200+ global brands trust their production capabilities. As one of the top equestrian manufacturers, they utilize a customization system based on 500+ rider body data points and 50+ riding-specific fabrics.
Need high-end custom riding boots components or bulk orders? Their efficiency implies samples in 7 days and bulk orders in 20 days. Their 98% on-time delivery rate outpaces the industry average. With a defect rate of less than 0.3%, RunEquestrian sets the standard among equestrian clothing manufacturers.
Conclusion
Breaking in new riding boots doesn't have to be a nightmare. You now have proven techniques, from conditioning to the wet sock method, to transform stiff leather into comfortable gear. Whether you bought affordable wholesale riding boots or invested in custom equestrian clothing, patience is key.
Your boots are an investment. Treat them with care. Trusted equestrian suppliers and equestrian manufacturers design these boots to last, but they need your help during those first few weeks. Start using these methods today, and you'll achieve that perfect, custom-molded fit. With strategies like protective layering and smart scheduling, your custom equestrian outfit will feel like a second skin in no time.
Ready to ride pain-free? Grab your conditioner and start today. Your feet will thank you!